- I stamped the cup image on white cardstock and the heart on a pale blue patterned paper with Gina K Jet Black Amalgam ink .
- The cup and heart were fussy-cut. These images are so easy to cut .
- I colored the knitted lines with various shades of blue COPIC markers.
- The holes in the heart "button" were made with my Crop-a-dile ..
- A piece of silver gift patterned paper - from the Studio Calico "Magical" collection - was adhered to a silver card base.
- The cup was popped up on the patterned paper with foam tabs.
- The heart "button" was also adhered to the cup handle with foam.
- A sentiment from my stash was placed above the cup - also with foam tabs for dimension .
Sunday, July 24, 2022
Coffee & Cards with Deb and Celeste / July 2022
Saturday, June 25, 2022
Crafty Elves' Countdown to Christmas / June 2022
- On a piece of white cardstock, I stamped the Cat with Lights image with Gina K Jet Black Amalgam ink and the sentiment in a bold blue .
- The image was colored with my COPICS.
- I used some Echo Park paper and an older ( vintage - LOL ) Martha Stewart border punch to make the border and then adhered it to the top of the stamped panel.
- A piece of thin black glitter washi was placed across the middle of the snowflake border for contrast .
- The stamped panel was adhered to a white card base .
- I stamped the Cat in Box image and the ornament on white cardstock with Gina K Jet Black Amalgam ink and the sentiment with a Rose Bud Dew Drop ink pad. .
- The image was colored with COPICS.
- I used Echo Park borders at the top of the stamped panel - a woodgrain and a scalloped button pattern.
- Red and golden rhinestones were alternated between the scallops.
- The completed panel was adhered to a green card base.
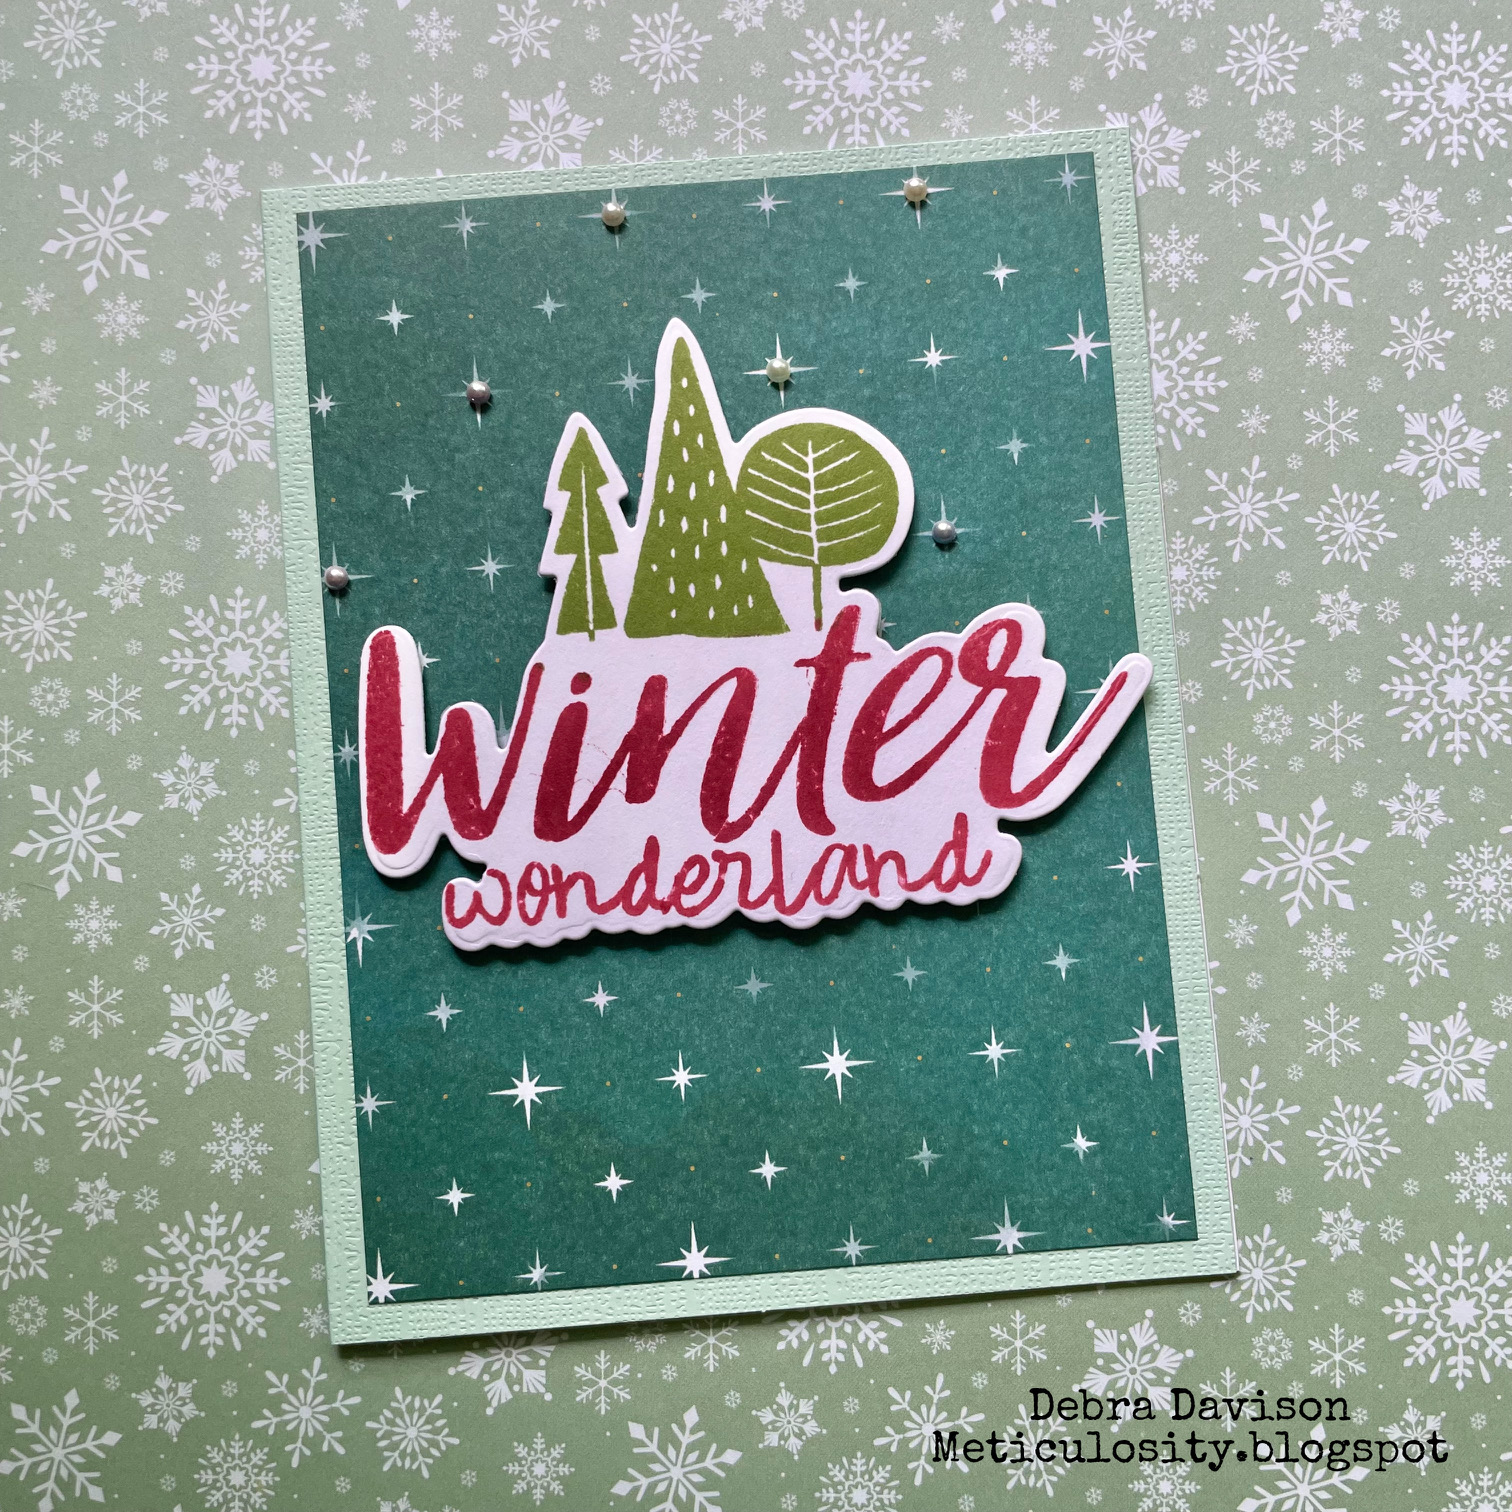
My last 2 cards were made with the Wonderland - Scrapbooking stamp and die set . I used Memento Dew Drop inks for these cards because it is so easy to stamp designs in multiple colors .. I went with traditional colors for one and shades pf blue for the other.
- The stamped image was inked with Memento Dew Drop ink pads - Rhubarb Stalk for the sentiment and Bamboo Leaves for the trees . It was then cut out with the matching die .
- I adhered a piece of holiday snowflake Spellbinders to a pale green card base .
- The stamped image was placed on the completed card base with foam tabs.
- Several small pearls were adhered around the sentiment .
- I stamped the Cocoa Day image with Paris Dusk ink for the sentiment and Summer Sky for the cup . It was then cut out with the matching die.
- A piece of blue patterned Spellbinders holiday paper was adhered to a navy card base . It reminded me of a Swedish pattern, maybe a sweater !!
- The stamped image was adhered with foam tabs to the stamped card base .
- I think that this is my favorite card this month !!
Sunday, June 19, 2022
Coffee and Cards with Deb & Celeste / June 2022
Celeste and I are getting together again for our blog collaboration and having some coffee while we create . It was a cool 80 degrees here in Virginia Beach, which was 20 degrees cooler than yesterday !! Quick, where's my sweater ?!?!?! Our theme this month is perfect for summery weather, especially if you have a garden. Bees !! This was such a fun theme !!
I used a sweet stamp/die set for my cards today . Yes, I made 2 .. Same design but different papers !! I really loved how they turned out. The Queen Bee set is from Close To My Heart . They have amazing deals right now during their Stamptacular Sale . My friend Chris Franco is a consultant and she knows how much I love this sale each year during the month of June !! My package of sale items just arrived yesterday and I can't wait to get inky with them all ... I hope that you like my cards for June.
- I made mini-slimline cards this time, using a 6x6 paper pad - Basic Grey "Urban Prairie" .This collection was released in 2008 and I have been hoarding 2 of these pads ever since !! I used a green-patterned piece and a shaded yellow for my cards . Folded in half, they make a perfect mini-slimline.
- The bee and wreath images were stamped with Gina K Jet Black Amalgam Ink on white cardstock ,then cut out with the matching dies .
- I stamped the curvy line directly on each card base after placing my die-cut images down to see exactly where the line should be.
- The bees and wreaths were colored with my COPICS.
- I popped up the stamped die-cuts with foam tabs .
- I paper-punched 2 crowns from bronze glittery paper and turned my sweet bees into Queen bees !!
- A strip of Honeybees Washi from Paper House Productions was placed along the bottom of each card base and also inside each card at the bottom. The set includes a thin black roll with gold dots and a hand-painted honeybees roll.
Don't you think these cards are just the cutest ?!?! And that washi couldn't be more perfect !! I'm on the Creative Team for Paper House Productions as well as being a Brand Ambassador. You can always use my code - Debra22 - for a 15% discount. I will earn a commission from any sales ( at no cost to you ). Always remember to do a bit of decorating on the inside of your cards too ... A strip of washi or a sticker or even a stamped design can be a nice surprise when your card is opened, along with whatever you write or stamp inside ..
Please be sure to take a look at Celeste's bee card over at her blog - Crafting Junky .I know that she has created something to inspire all of us..
I'm having a wonderful cup of Brown Sugar Crumble coffee in a fun new cup. My dear friend , Michelle just returned from a cruise and I watered her outdoor plants while she was gone. She knew she was really trusting me with their lives, since I do NOT have a green thumb !! But all turned out well and on her return, she gave me a few gifts. One was this cute coffee cup . And appropriately enough, the other was a lovely pair of bee earrings !!
I hope that you are all staying cool and getting creative. And of course, enjoying your favorite beverage .. I'm already thinking about what new stamp set I will use first from my recent purchase from Close To My Heart .. If you are feeling the need for a new stamp set or stamp/die set at fabulous prices, take a look at the Stamptacular Sale . You won't be sorry !!
Debra Davison / Meticulosity
Wednesday, May 25, 2022
Crafty Elves' Countdown to Christmas / May 2022
- I stamped Feline Candle from Stampendous on white cardstock with Gina K Jet Black Amalgam ink and then fussy-cut it .
- I also stamped the image on a piece of snowflake patterned paper and cut out the dress .
- The image was colored with my COPICS .
- The snowflake dress was adhered to the Feline Candle image .
- On a navy blue card base, I adhered a piece of patterned paper with gold highlights.
- A holiday tag from my paper stash was adhered to the left side of the card base with foam tabs.
- The stamped image was adhered on the right side of the patterned paper .
- These 2 cards used products entirely from the Christmas Cheer collection. I added 3 buttons to the garland card .
- My fourth card was created with the A Very Merry Christmas Collection Kit. It has a retro feel, which I love !!
Sunday, May 22, 2022
Coffee & Cards with Deb & Celeste / May 2022
- I stamped the Gnome Sweet Gnome image on white cardstock with Gina K Jet Black Amalgam Ink . All individual red rubber stamps were retired at Impression Obsession on 4-30-22 . I am lucky to have an amazing collection and was also able to get a few more before the deadline. So this gnome stamp is no longer available but they are still carrying a variety of other stamps / dies that you can check out HERE .
- I colored the image with my COPICS.
- On a yellow card base, I adhered a piece of pale green patterned paper.
- Gnome Sweet Gnome was then adhered to the patterned paper.
- Large sequins in a variety of colors were adhered to the bottom right and top left of the stamped image.
Monday, May 2, 2022
Mother's Day 2022
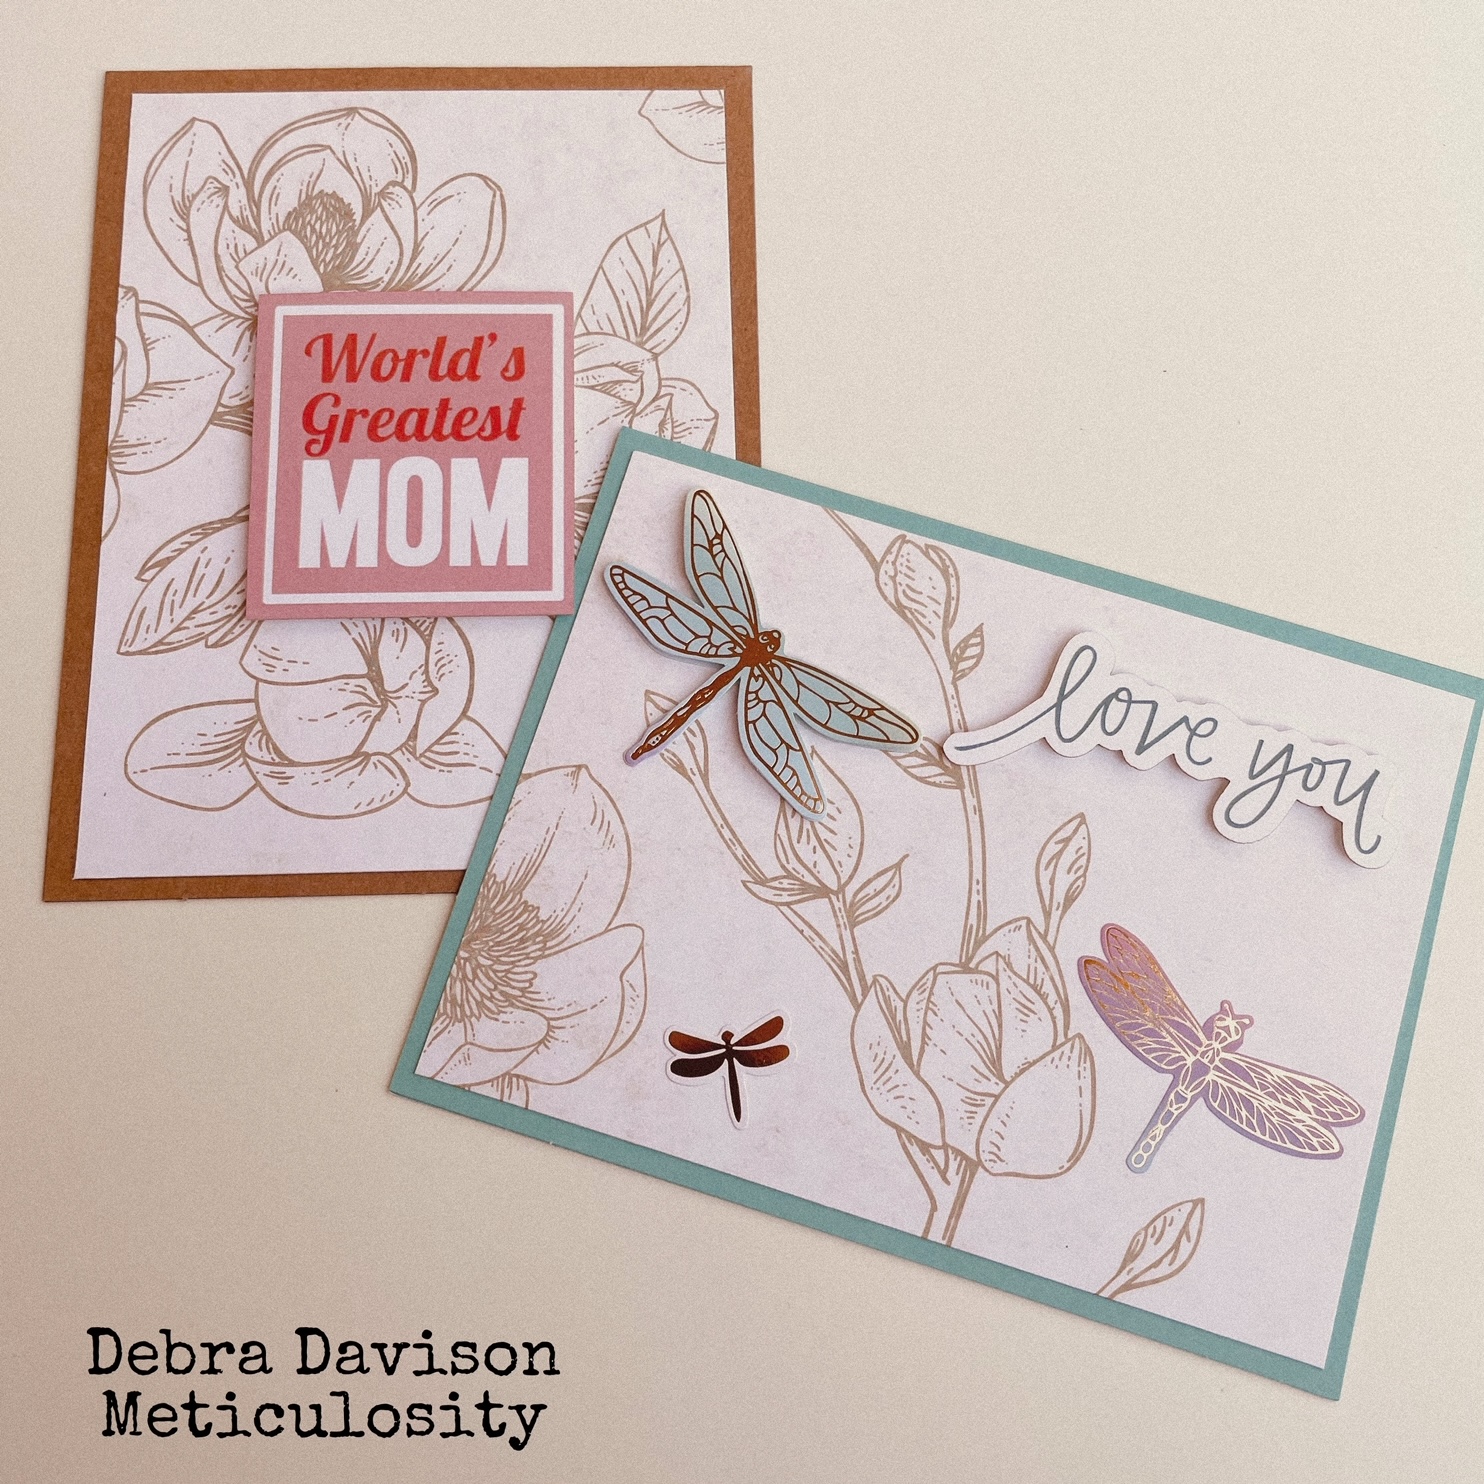
As a member of the PaperHouse Productions Creative Team and also a Brand Ambassador, I received the most beautiful box of their products recently . I wanted to use some to create a few Mother's Day cards and especially to show you how quick and easy it can be . I first chose 2 sheets of 12x12 paper - one with an overall pattern and another with 12 tags .
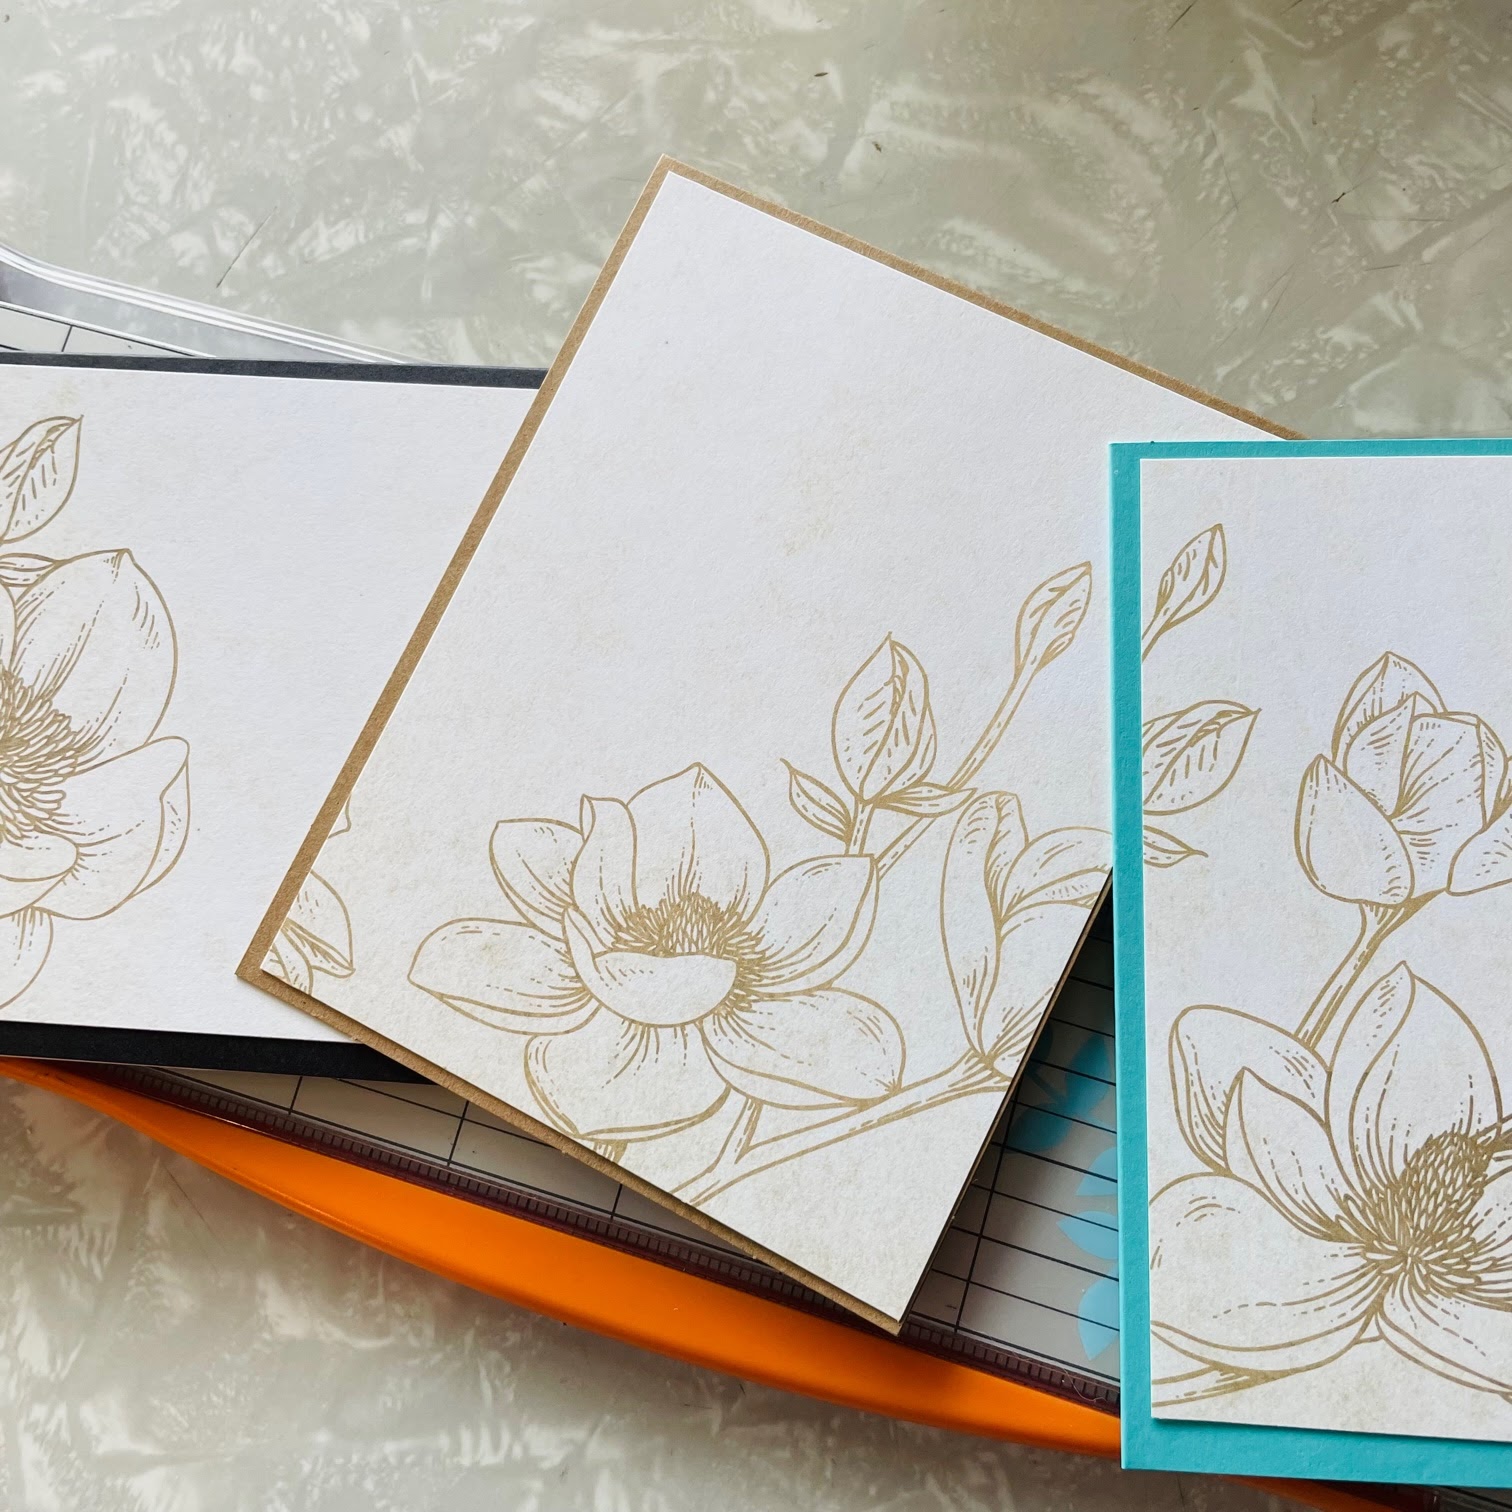
Using my paper cutter, I cut the 12 tag images first . I then cut 6 card fronts from the gold floral paper - each measuring approx. 4 x 5 1/4 inches. I wanted to leave a bit of my A2 card base showing .
I adhered the gold floral paper to A2 card bases - a variety of black, kraft and turquoise. The hardest part was choosing which of the stickers and die-cuts to use since I loved all of them.
The tags were also adhered to a variety of colors of card bases, I used foam tabs with a few of the die-cuts and also used staples on the Best Grandma tag.
FTC Disclosure - As a Brand Ambassador with PaperHouse Productions , I will receive a small commission for purchases made through my convenient link or for using my Referral Code - Debra22 - at checkout.. You will also receive a 15% discount . This will be at no additional cost to you .
Monday, April 25, 2022
Crafty Elves' Countdown to Christmas / April 2022
I am so happy that the weather is finally turning warm - in fact, today here in Virginia Beach, it will be 89 degrees !! I hope that Spring weather has reached you wherever you are .. Have you been starting your holiday cards along with us ?? It's never too late to start !! Michael, Lisa and I are posting each month on the 25th to inspire you and stay ahead of the holiday rush ..
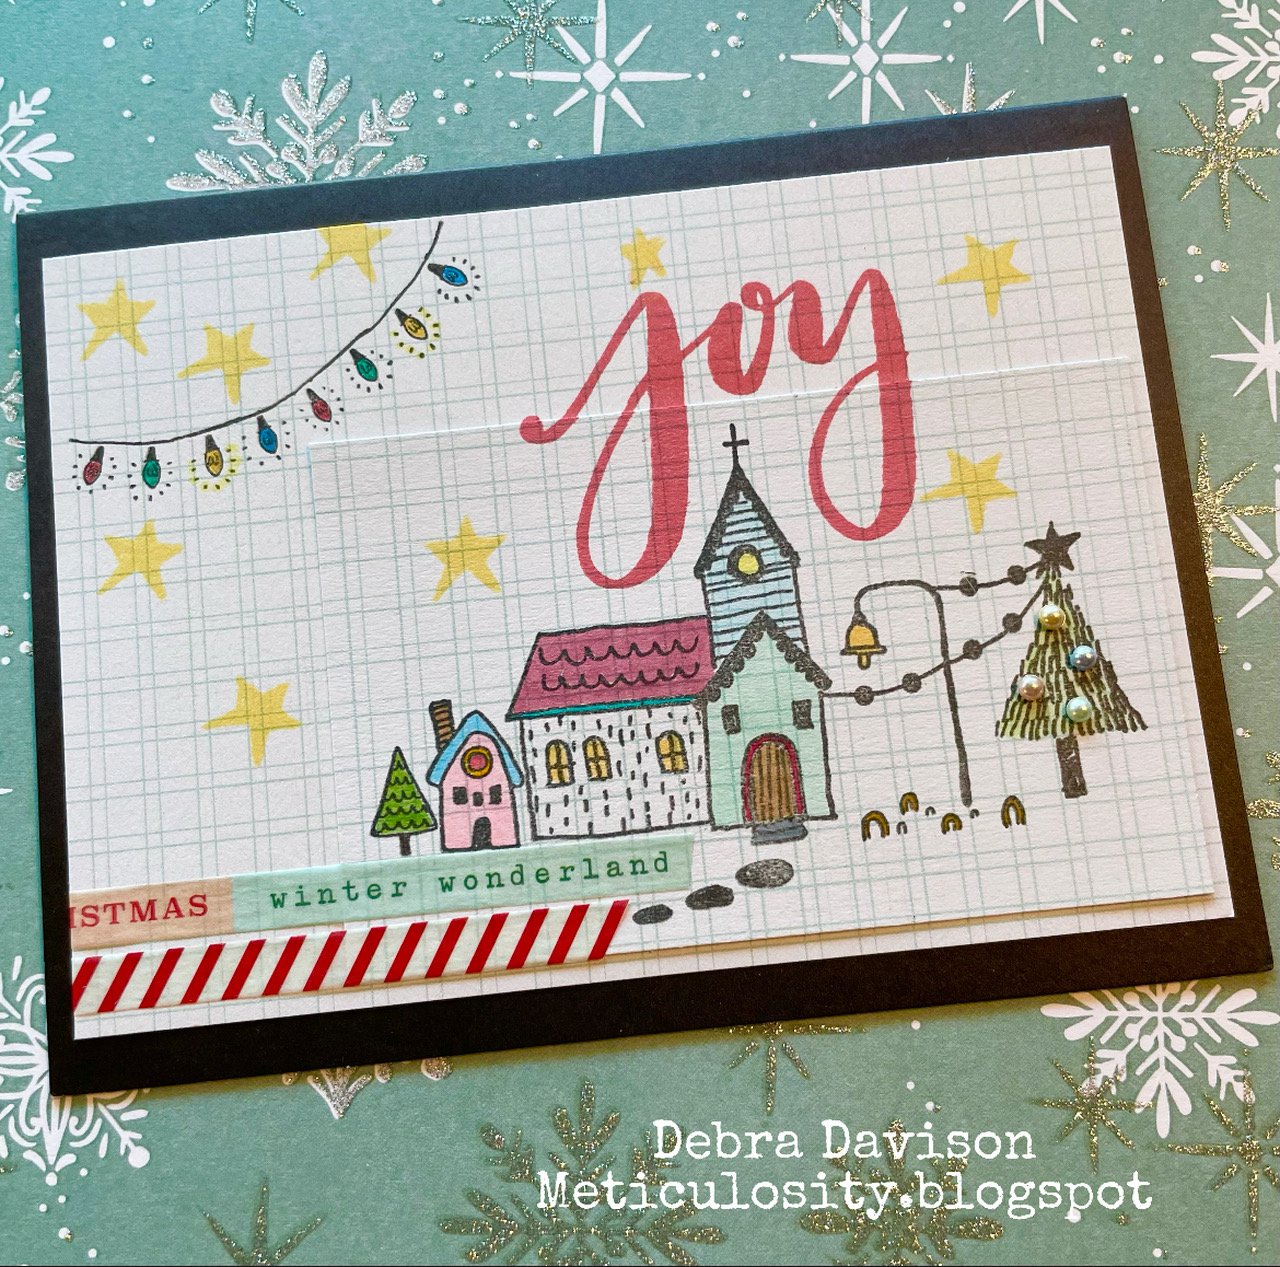
For my first card, I used the stamp set - Whimsy World - Noel - by Colorado Craft Company . This stamp set is actually on sale right now and is a wonderful addition to your holiday stash.
- In the upper left corner of a piece of patterned paper, I stamped a string of lights from the Busy Sidewalks stamp set from Crate Paper.
- I stamped the other images to create a scene, using a variety of colors of Memento Dew Drop inks . All are from the Whimsy World - Noel set .
- The string of lights are colored with glitter pens and the scene with my COPICS.
- I added a few strips of holiday washi to the bottom left of the stamped panel.
- Confession time - I stamped a different house image on the patterned paper but was not happy with it .. So I stamped the Colorado Craft image onto the same patterned paper then placed it over the original.
- On a piece of Warm Wishes patterned paper, I stamped JOY and the bird with Gina K Jet Black Amalgam ink . The other words were stamped with Memento Dew Drop Ink -Lady Bug .
- I stamped the stars on another piece of Warm Wishes patterned paper and then fussy-cut them.
- The bird and JOY were colored with my COPICS.
- I popped up the 3 stars with foam tabs onto the stamped panel.
- A cream-colored card base was used.
- On a Kraft card base, I adhered a piece of Warm Wishes patterned paper.
- I used ephemera from the collection - a string of stars along the top, reindeer on the left side and a 25 on the right.
- This card needed nothing else - no bling or glitter .. I think it is just simply perfect as is !!
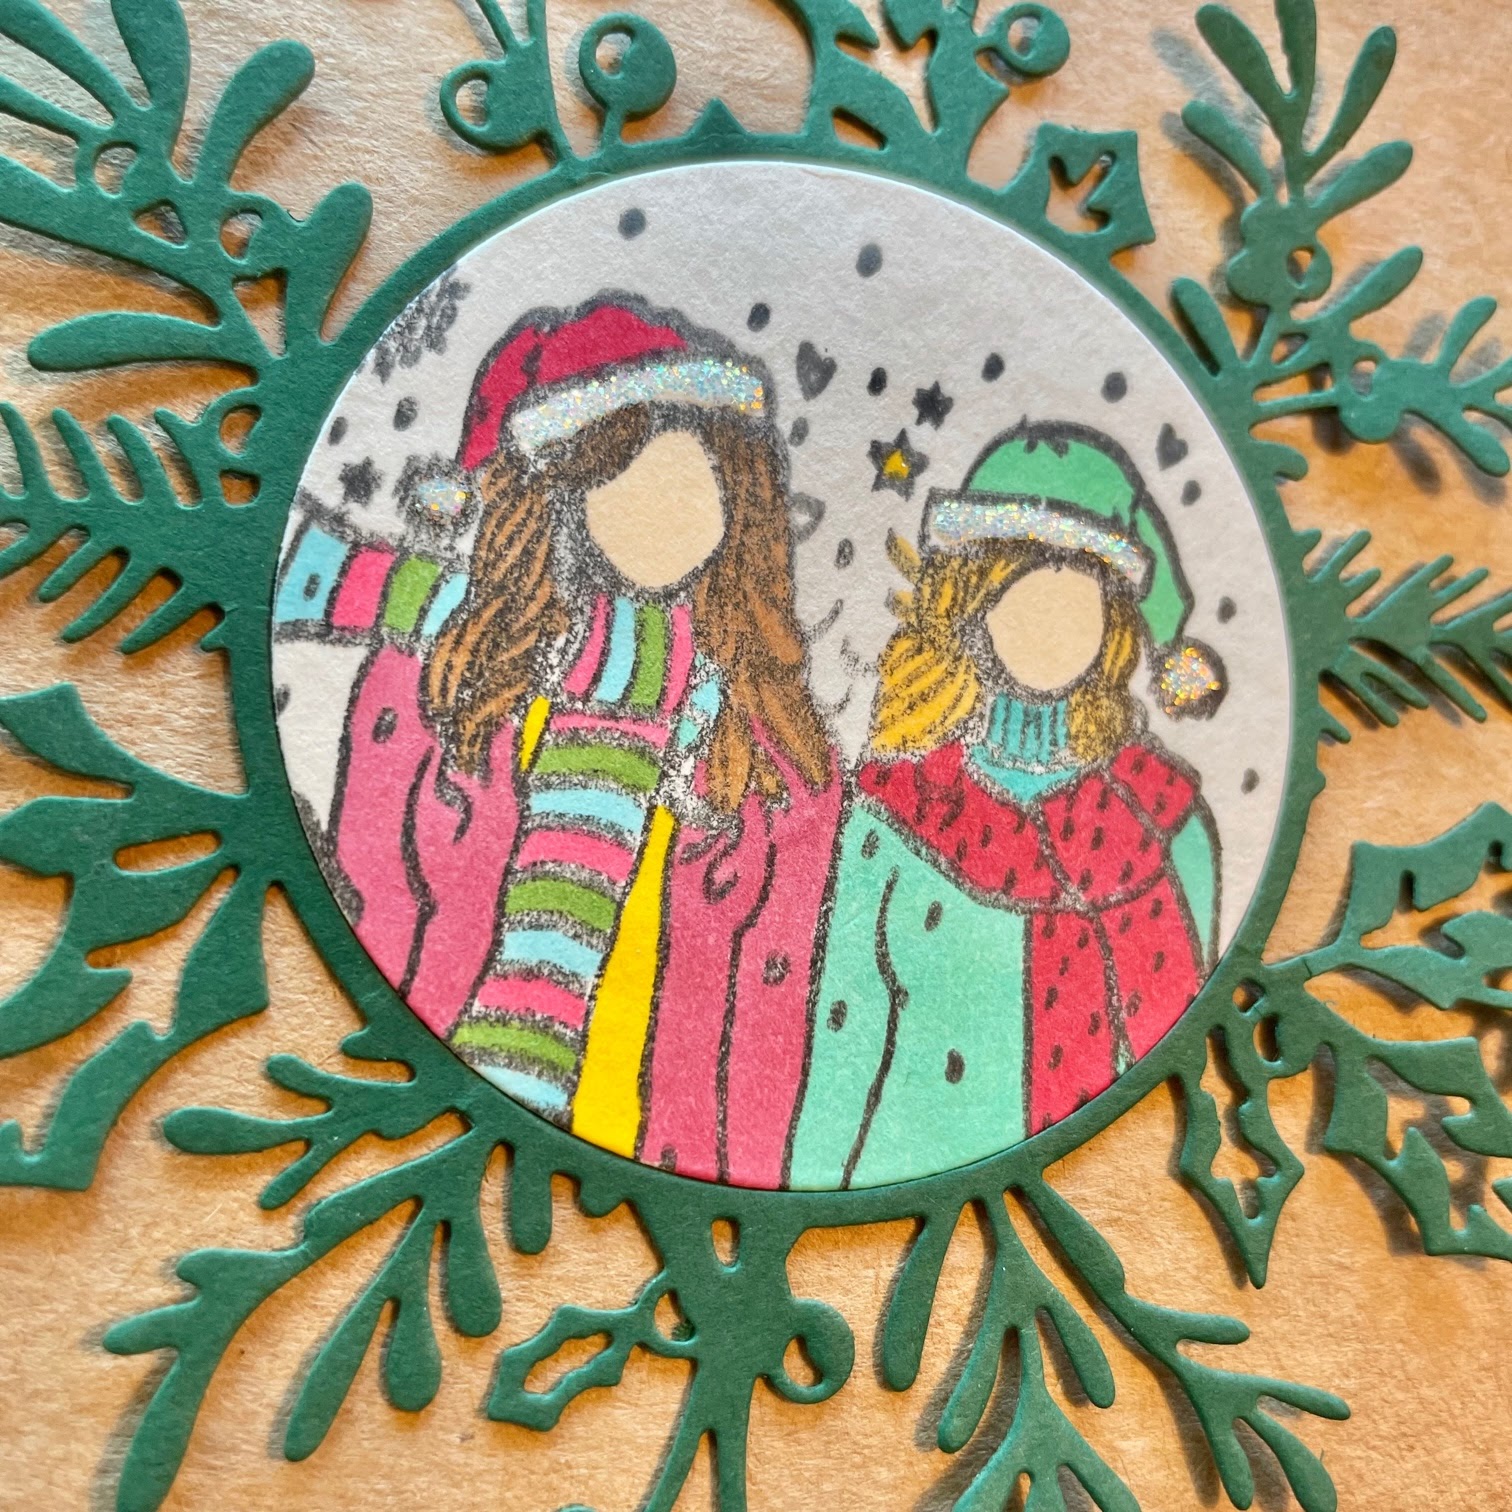
- I die-cut the Momenta Holly & Berry Christmas wreath with dark green cardstock.
- The Shine Bright Girls was stamped onto cream cardstock with Gina K Jet Black Amalgam ink .
- I die-cut the wreath again with the stamped image to get the circle. And I now have a cream-colored wreath to use for another card.
- I adhered the stamped circle and the wreath to a 5x7 Kraft card base near the top .
- A Happy Holidays sticker from the Vicki Boutin "Warm Wishes" collection was placed under the wreath.
- Unicorn Stickles Glitter Glue was used on the hats.